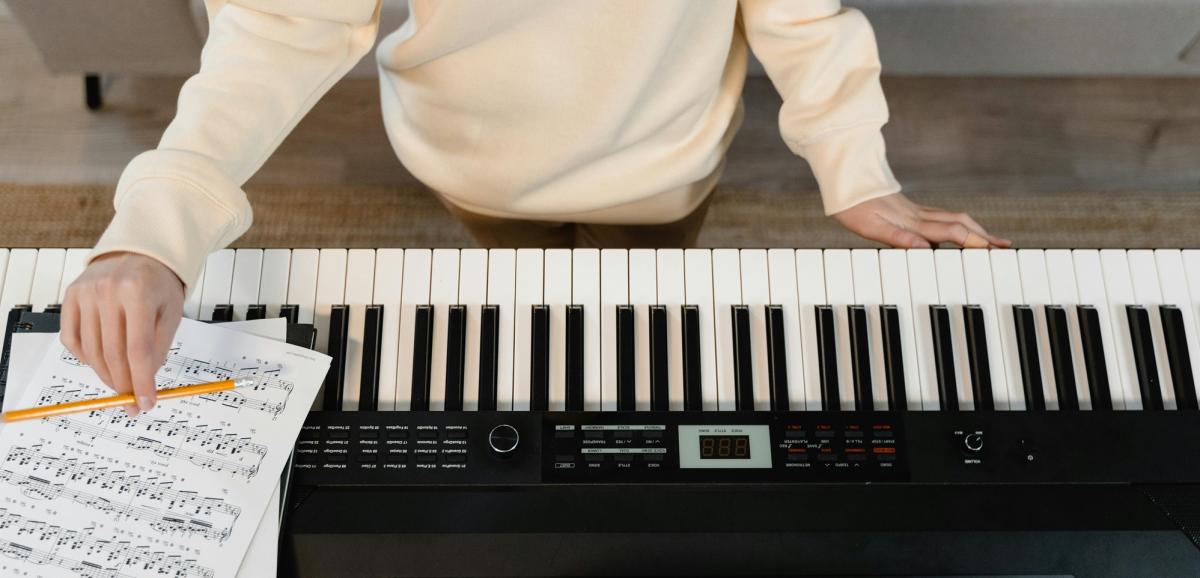
Recording piano tracks using a digital piano offers a simple and efficient way to capture your performances with high-quality sound. Whether you’re recording for personal projects, professional compositions, or sharing your music with others, digital pianos provide several methods to record your tracks. Here’s how to get started.
1. Use the Built-In Recording Feature on Your Digital Piano
Many digital pianos come with a built-in recording feature, making it easy to record your performances directly on the instrument. This method is perfect for quick recordings or practicing playback.
Step-by-Step Guide
- Locate the “Record” button on your digital piano’s control panel.
- Press the “Record” button to start recording. Some pianos may prompt you to select a track or bank to store the recording.
- Play your piano track as usual. The piano will capture the performance in its memory.
- Once you’re done, press the “Stop” button to end the recording.
- Use the playback feature to listen to your recording or save it if your piano allows exporting to a USB drive.
Benefits of Built-In Recording
This method is convenient and requires no additional equipment. It’s ideal for quick takes, practice sessions, and capturing ideas on the fly. However, the audio quality may be limited depending on the piano’s internal sound system, and there may be fewer editing options compared to more advanced methods.
2. Record via USB or MIDI to a Computer
Connecting your digital piano to a computer allows you to capture high-quality recordings while giving you more control over the sound and editing process. Using either a USB or MIDI connection, you can send your piano’s performance to a Digital Audio Workstation (DAW) for further refinement.
How to Connect via USB or MIDI
- Check if your digital piano has a USB or MIDI output port. Most modern pianos offer USB to Host or MIDI ports for external connectivity.
- Connect your digital piano to your computer using a USB cable or MIDI interface.
- Open a DAW like Audacity, GarageBand, Logic Pro, or Ableton Live on your computer.
- Select your digital piano as the MIDI or audio input source within the DAW settings.
- Arm a track for recording in the DAW and press “Record.”
- Play your track, and the DAW will capture your performance in real-time.
Advantages of Recording via USB or MIDI
Recording through a DAW offers much more flexibility and sound quality than a built-in recorder. You can easily edit, layer, or add effects to your recording. MIDI recording captures performance data rather than audio, allowing you to change instrument sounds or adjust individual notes after the recording is complete.
3. Record Audio Using an Audio Interface
If your goal is to record the actual audio output from your digital piano rather than MIDI data, using an audio interface is an excellent option. An audio interface converts your piano’s analog output into a digital signal that can be recorded by your computer.
Step-by-Step Guide
- Connect your digital piano’s “Line Out” or “Headphone” output to an audio interface using a 1/4-inch cable.
- Connect the audio interface to your computer via USB or Thunderbolt.
- Open your DAW and select the audio interface as your input device.
- Set up a new audio track in the DAW and arm it for recording.
- Start playing your piano while the DAW records the audio signal from the interface.
- Stop the recording when you're finished and review the audio track in your DAW.
Benefits of Using an Audio Interface
This method allows you to capture the full sound of your digital piano with high-quality audio, preserving the nuances and dynamics of your performance. It’s ideal for professional recordings, as you can control the sound quality through the interface and DAW settings.
4. Record Using a Portable Digital Recorder
A portable digital recorder is a simple and effective way to record your digital piano without needing to connect it to a computer. These devices are easy to use and can capture high-quality audio directly from your piano.
How to Use a Portable Recorder
- Place the portable recorder near the speakers of your digital piano or connect it directly using a cable (if the recorder has a line-in option).
- Adjust the recorder’s settings for optimal sound capture, such as setting the appropriate input level.
- Press “Record” on the device and start playing your piano.
- Once finished, press “Stop” and review the recorded audio on the device.
Why Use a Portable Recorder
Portable recorders are convenient for capturing performances on the go or in situations where you don’t have access to a computer. They are simple to set up and offer good audio quality, making them a great option for casual recording sessions or live performances.
5. Edit and Mix Your Piano Tracks
Once your piano track is recorded, you can edit and mix it using a DAW. Editing allows you to remove any mistakes, adjust volume levels, and enhance the overall sound with effects like reverb, EQ, or compression.
Basic Editing Techniques
- Cut and trim sections of the track to remove unwanted noise or mistakes.
- Use equalization (EQ) to balance the frequency response and improve the clarity of your recording.
- Add reverb or other effects to create depth and ambiance.
- Adjust the overall volume and dynamics to ensure a balanced sound throughout the track.
Mixing for a Professional Sound
Mixing is the process of balancing all the elements of your track to create a polished, cohesive sound. This includes adjusting the levels of different instruments, applying effects, and fine-tuning the overall tonal balance of the recording. If you’re recording multiple piano tracks or adding other instruments, mixing is essential for achieving a professional result.
Final Thoughts on Recording Piano Tracks with a Digital Piano
Recording piano tracks with a digital piano offers various methods, from built-in recording features to more advanced setups using a DAW and audio interface. By choosing the method that best suits your needs, you can capture high-quality recordings that showcase your musical talent and creativity.


