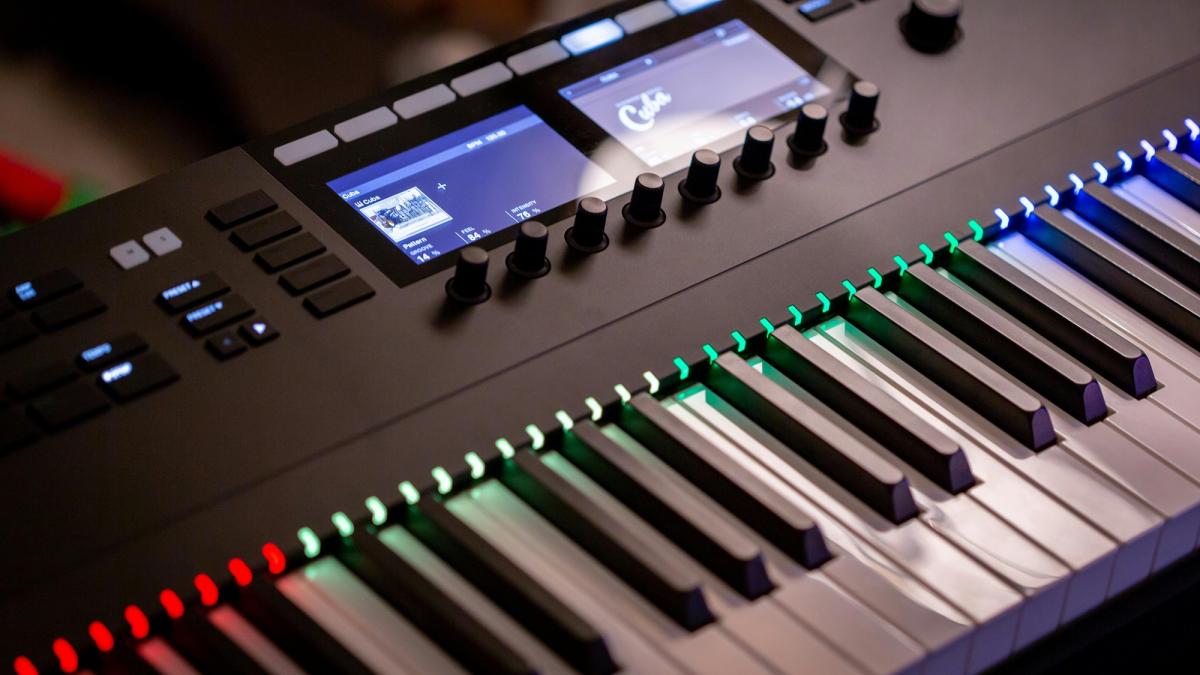
Setting up MIDI connections on a digital piano is a crucial step if you want to unlock its full potential for composing, recording, or controlling virtual instruments. MIDI (Musical Instrument Digital Interface) allows you to transmit data between your digital piano and other devices like computers, DAWs (Digital Audio Workstations), or synthesizers. Here's a comprehensive guide to setting up MIDI connections on your digital piano.
1. Understand the Basics of MIDI and Why It’s Useful
MIDI is a communication protocol that allows musical devices to talk to each other. Unlike audio, MIDI doesn't transmit sound—it sends digital data that represents notes, velocity, pitch, and other performance information. Understanding what MIDI does will help you make the most out of your digital piano setup.
What MIDI Can Do
- Control virtual instruments and software synths in a DAW.
- Record performance data that can be edited and manipulated later.
- Play back MIDI data using different sound libraries or instruments.
- Sync your digital piano with other MIDI-enabled devices.
MIDI Connections on a Digital Piano
Digital pianos often have one or more MIDI connection options:
- **MIDI In/Out Ports** – Traditional 5-pin MIDI ports for connecting to other MIDI hardware.
- **USB to Host** – A USB connection that allows you to connect your digital piano directly to a computer.
- **USB to Device** – A port that lets you connect USB drives or external storage for data transfer.
Choose the connection method that fits your needs based on the available ports on your digital piano.
2. Set Up a USB MIDI Connection to a Computer
For most home studio setups, connecting a digital piano to a computer via USB is the simplest and most efficient method. Here’s how to do it step-by-step.
Step-by-Step Guide for USB MIDI Connection
- Locate the **USB to Host** port on your digital piano, usually located on the back or side of the instrument.
- Use a USB A to B cable (printer cable) to connect the **USB to Host** port on your digital piano to a USB port on your computer.
- Turn on your digital piano and open your computer’s audio/MIDI settings.
- If required, install any necessary drivers from the digital piano's manufacturer’s website. Some pianos need specific drivers to communicate with a computer.
- Open your DAW and select your digital piano as the MIDI input and output device in the settings.
- Create a MIDI track in your DAW and test the connection by playing a few notes. If everything is set up correctly, the DAW will register your input.
Troubleshooting Tips
- If your computer doesn’t recognize the digital piano, check the cable and ensure it’s securely connected.
- Restart the DAW or the computer if the MIDI connection isn’t detected.
- Update the drivers if the MIDI connection isn’t functioning properly.
3. Use Traditional MIDI In/Out Ports for Advanced Connections
For connecting your digital piano to other MIDI devices like external synthesizers, drum machines, or hardware sequencers, traditional 5-pin MIDI In/Out ports are the best choice. Here's how to set up a traditional MIDI connection.
Step-by-Step Guide for MIDI In/Out Connection
- Check if your digital piano has **MIDI In/Out** ports. These are typically round 5-pin ports located on the back of the instrument.
- Use a standard MIDI cable to connect the **MIDI Out** port on your digital piano to the **MIDI In** port on the receiving device (e.g., a MIDI interface, another instrument, or a DAW).
- If you want to receive MIDI data from another device, connect a second MIDI cable from the **MIDI In** port on your digital piano to the **MIDI Out** port of the external device.
- Turn on your devices and configure the MIDI channels if necessary. Many digital pianos and MIDI devices allow you to assign specific MIDI channels for sending and receiving data.
- Test the connection by playing your digital piano and checking if the receiving device is registering the MIDI input.
Why Use Traditional MIDI Ports
Traditional MIDI ports are ideal for connecting multiple MIDI devices in a chain. This setup is common in larger studios with multiple instruments, allowing for more flexibility and compatibility with older MIDI gear.
4. Configure MIDI Settings on Your Digital Piano
Most digital pianos allow you to configure MIDI settings to customize how the instrument sends and receives MIDI data. Adjusting these settings ensures your digital piano communicates effectively with other devices.
Setting MIDI Channels
MIDI data can be sent over 16 different channels, allowing multiple instruments to communicate without interference. Check your digital piano’s MIDI settings menu to assign a specific MIDI channel for sending and receiving data. Ensure that the sending and receiving devices are set to the same channel.
Local Control On/Off
The Local Control setting determines whether the keyboard controls the internal sound engine. When **Local Control is On**, the piano’s keys control both the internal sounds and MIDI output. When **Local Control is Off**, the keys send data externally but don’t trigger internal sounds. Turn Local Control off if you’re using the piano to control external software or hardware exclusively.
5. Sync Your Digital Piano with a DAW
Syncing your digital piano with a DAW allows you to control virtual instruments, compose music, and edit MIDI data. Here’s how to set up a seamless MIDI integration with your DAW.
Step-by-Step DAW Sync Guide
- Open your DAW and go to the MIDI settings menu.
- Select your digital piano as the MIDI input device. If the piano also supports MIDI output, choose it as the output device as well.
- Enable **MIDI Clock Sync** if your digital piano supports syncing with a DAW's tempo. This ensures that both devices stay in time when recording or playing back tracks.
- Create a MIDI track in the DAW and arm it for recording.
- Test the sync by recording a MIDI sequence and playing it back to see if your digital piano responds correctly.
Benefits of Syncing with a DAW
Syncing with a DAW allows you to record MIDI performances, use advanced virtual instruments, and edit your performance with precision. It’s an essential setup for home studios and professional recording environments.
6. Connect Your Digital Piano Wirelessly with Bluetooth MIDI
Some modern digital pianos offer Bluetooth MIDI, allowing for a wireless connection to your devices. Bluetooth MIDI is convenient for quick setups and portable studio environments.
Step-by-Step Guide for Bluetooth MIDI
- Check if your digital piano supports Bluetooth MIDI. This feature is usually found in newer or higher-end models.
- Enable Bluetooth MIDI in your digital piano’s settings menu.
- On your computer or mobile device, open the Bluetooth settings and search for available MIDI devices. Select your digital piano from the list.
- Open your DAW or music software and choose the Bluetooth MIDI device as the input. Most DAWs will automatically detect the Bluetooth connection.
- Test the wireless connection by playing your piano and ensuring the data is being transmitted without latency issues.
Advantages of Bluetooth MIDI
Bluetooth MIDI offers a clutter-free setup and is ideal for quick practice sessions or composing on the go. However, be aware that Bluetooth MIDI can introduce slight latency, so it’s best used for non-critical recording situations.
Final Thoughts on Setting Up MIDI Connections on a Digital Piano
Setting up MIDI connections on a digital piano allows you to explore new creative possibilities and integrate your instrument with a wide range of music technology. Whether you’re connecting via USB, traditional MIDI ports, or Bluetooth, understanding how to set up and configure MIDI will help you get the most out of your digital piano. Take the time to experiment with different setups and find the one that works best for your needs.


